Bakery Style Red Velvet Cookies
Introduction
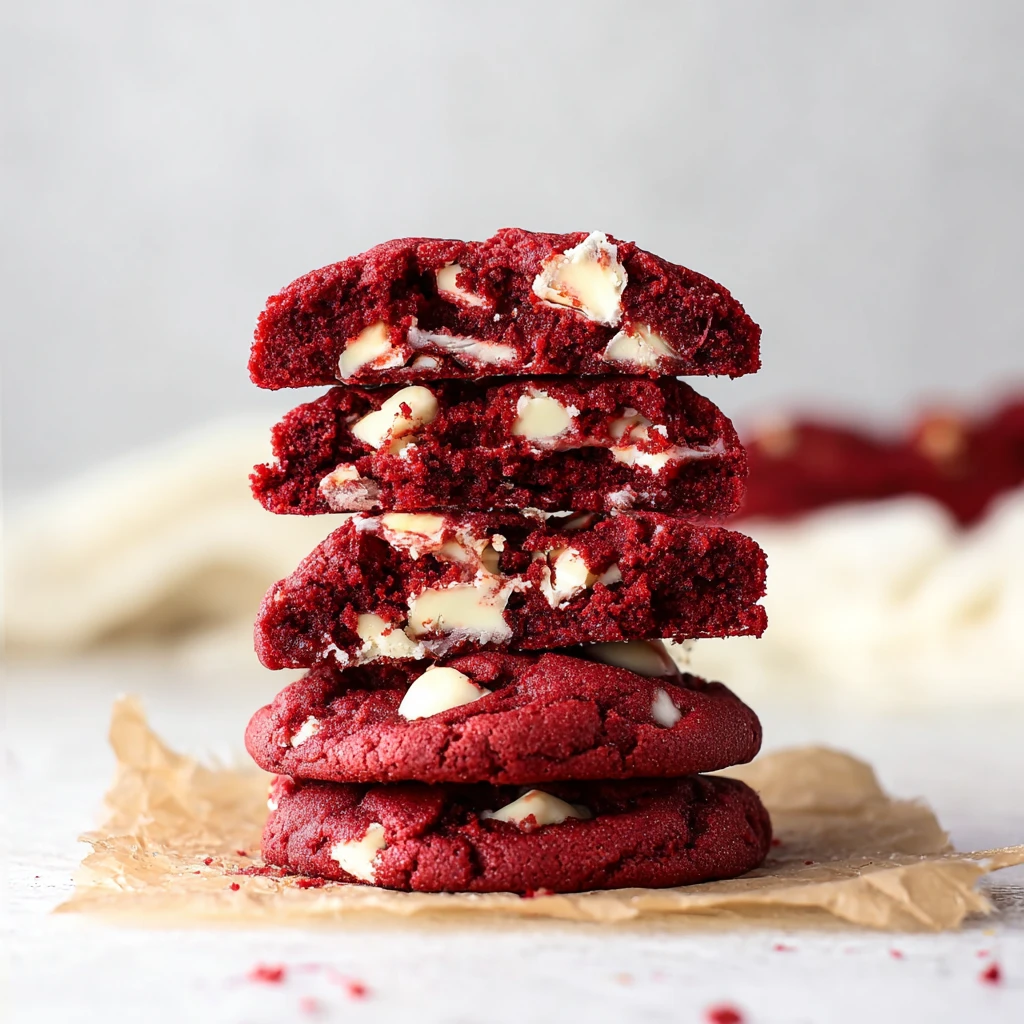
Imagine sinking your teeth into a soft, decadent red velvet cookie that tastes just like it came from a bakery. The rich cocoa flavor, the hint of tanginess from buttermilk, and that vibrant red color make these cookies a true indulgence for any dessert lover. In this article, we’ll explore how to recreate that bakery-style magic in your own kitchen with our irresistible red velvet cookie recipe.
Why You’ll Love This Recipe
These bakery-style red velvet cookies are not just your average treat. They are the perfect blend of moist, chewy, and slightly crispy edges, making each bite a delightful experience. Whether you’re a fan of red velvet cake or simply love a good cookie, this recipe is sure to win you over. Plus, the visually striking red hue of these cookies makes them a standout dessert for any occasion.
For those with dietary preferences, these cookies can easily be adapted to suit various needs, whether you’re looking to make them gluten-free or dairy-free. The versatility of this recipe makes it a must-have in your baking repertoire.
Ingredients
To bring these bakery-style red velvet cookies to life, you’ll need the following ingredients:
– All-purpose flour
– Unsweetened cocoa powder
– Baking soda
– Salt
– Unsalted butter
– Granulated sugar
– Brown sugar
– Eggs
– Buttermilk
– Red food coloring
– Vanilla extract
– White chocolate chips
Feel free to customize the recipe by using dark chocolate chips or adding a sprinkle of sea salt on top for an extra flavor dimension.
Step-by-Step Instructions
1. Preheat your oven to 350°F (175°C) and line a baking sheet with parchment paper.
2. In a bowl, whisk together the flour, cocoa powder, baking soda, and salt until well combined.
3. In a separate bowl, cream together the butter, granulated sugar, and brown sugar until light and fluffy.
4. Add the eggs one at a time, mixing well after each addition. Then, stir in the buttermilk, red food coloring, and vanilla extract.
5. Gradually add the dry ingredients to the wet ingredients, mixing until just combined. Fold in the white chocolate chips.
6. Using a cookie scoop, drop dough onto the prepared baking sheet and bake for 10-12 minutes until the edges are set.
7. Allow the cookies to cool on the baking sheet for a few minutes before transferring them to a wire rack to cool completely.
Expert Tips for Success
– Make sure to measure your flour correctly using the spoon and level method to avoid dense cookies.
– For a deeper red color, use gel food coloring instead of liquid food coloring.
– Chill the cookie dough for 30 minutes before baking to prevent excessive spreading in the oven.
– Do not overmix the dough once the dry ingredients are added to keep the cookies soft and tender.
Variations and Substitutions
If you’re looking to switch things up with this red velvet cookie recipe, consider the following variations:
– Substitute the white chocolate chips with cream cheese frosting for a creamier center.
– Add a sprinkle of chopped nuts for added crunch and flavor.
– For a dairy-free version, use plant-based butter and dairy-free white chocolate chips.
– Experiment with different food colorings to create unique colored cookies for special occasions.
Serving Suggestions
These bakery-style red velvet cookies are best enjoyed fresh out of the oven with a cold glass of milk or a warm cup of coffee. Serve them at your next gathering for a show-stopping dessert that will impress your guests. You can also crumble them over a scoop of vanilla ice cream for a decadent cookie sundae.
FAQs
Q: Can I freeze the cookie dough?
A: Yes, you can scoop the dough into balls and freeze them on a baking sheet. Once frozen, transfer the dough balls to a zip-top bag and store them in the freezer for up to 3 months. Bake from frozen, adding a few extra minutes to the baking time.
Q: How do I store leftover cookies?
A: Store the cookies in an airtight container at room temperature for up to 5 days. You can also freeze the baked cookies for up to 2 months.
Q: Can I omit the food coloring?
A: While the red food coloring gives these cookies their iconic look, you can certainly omit it if desired. The flavor will remain the same, but the cookies will have a more traditional chocolate appearance.
Final Thoughts
With their irresistible flavor and striking appearance, these bakery-style red velvet cookies are sure to become a favorite in your household. Whether you’re baking them for a special occasion or simply craving a sweet treat, this recipe offers a delightful twist on the classic red velvet flavor profile. Get ready to impress your friends and family with these delectable homemade cookies!
Bakery Style Red Velvet Cookies
Indulge in these soft, decadent red velvet cookies with a rich cocoa flavor, a hint of tanginess from buttermilk, and a vibrant red color. These bakery-style cookies are moist, chewy, and slightly crispy, making each bite a delightful experience. Perfect for red velvet lovers and cookie enthusiasts alike.
Ingredients
- 1 3/4 cups all-purpose flour
- 2 tablespoons unsweetened cocoa powder
- 1 teaspoon baking soda
- 1/2 teaspoon salt
- 1/2 cup unsalted butter
- 1/2 cup granulated sugar
- 1/2 cup brown sugar
- 2 eggs
- 2 tablespoons buttermilk
- 1 tablespoon red food coloring
- 1 teaspoon vanilla extract
- 1/2 cup white chocolate chips
Directions
-
Preheat your oven to 350°F (175°C) and line a baking sheet with parchment paper.
-
In a bowl, whisk together the flour, cocoa powder, baking soda, and salt until well combined.
-
In a separate bowl, cream together the butter, granulated sugar, and brown sugar until light and fluffy.
-
Add the eggs one at a time, mixing well after each addition. Then, stir in the buttermilk, red food coloring, and vanilla extract.
-
Gradually add the dry ingredients to the wet ingredients, mixing until just combined. Fold in the white chocolate chips.
-
Using a cookie scoop, drop dough onto the prepared baking sheet and bake for 10-12 minutes until the edges are set.
-
Allow the cookies to cool on the baking sheet for a few minutes before transferring them to a wire rack to cool completely.