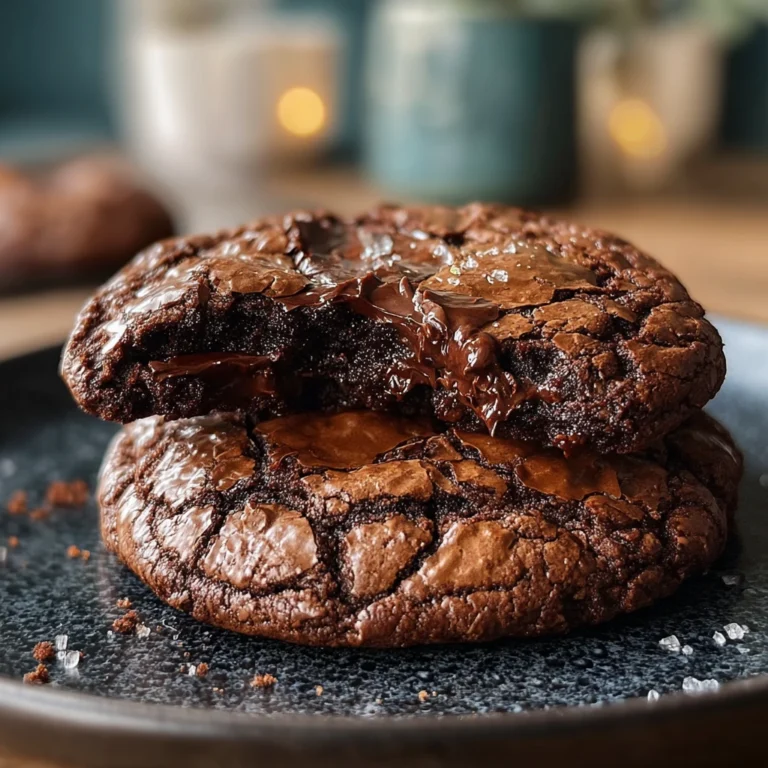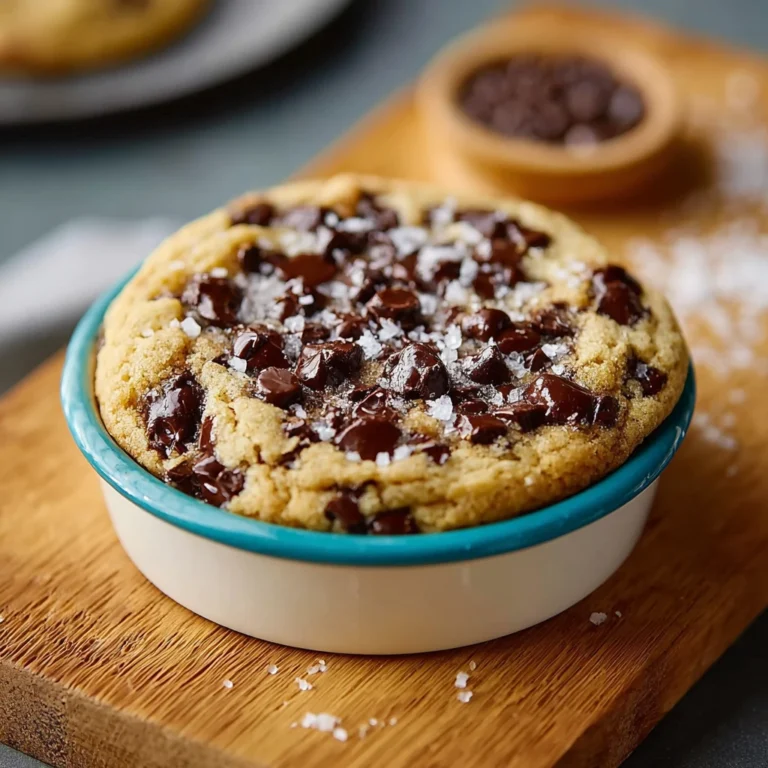
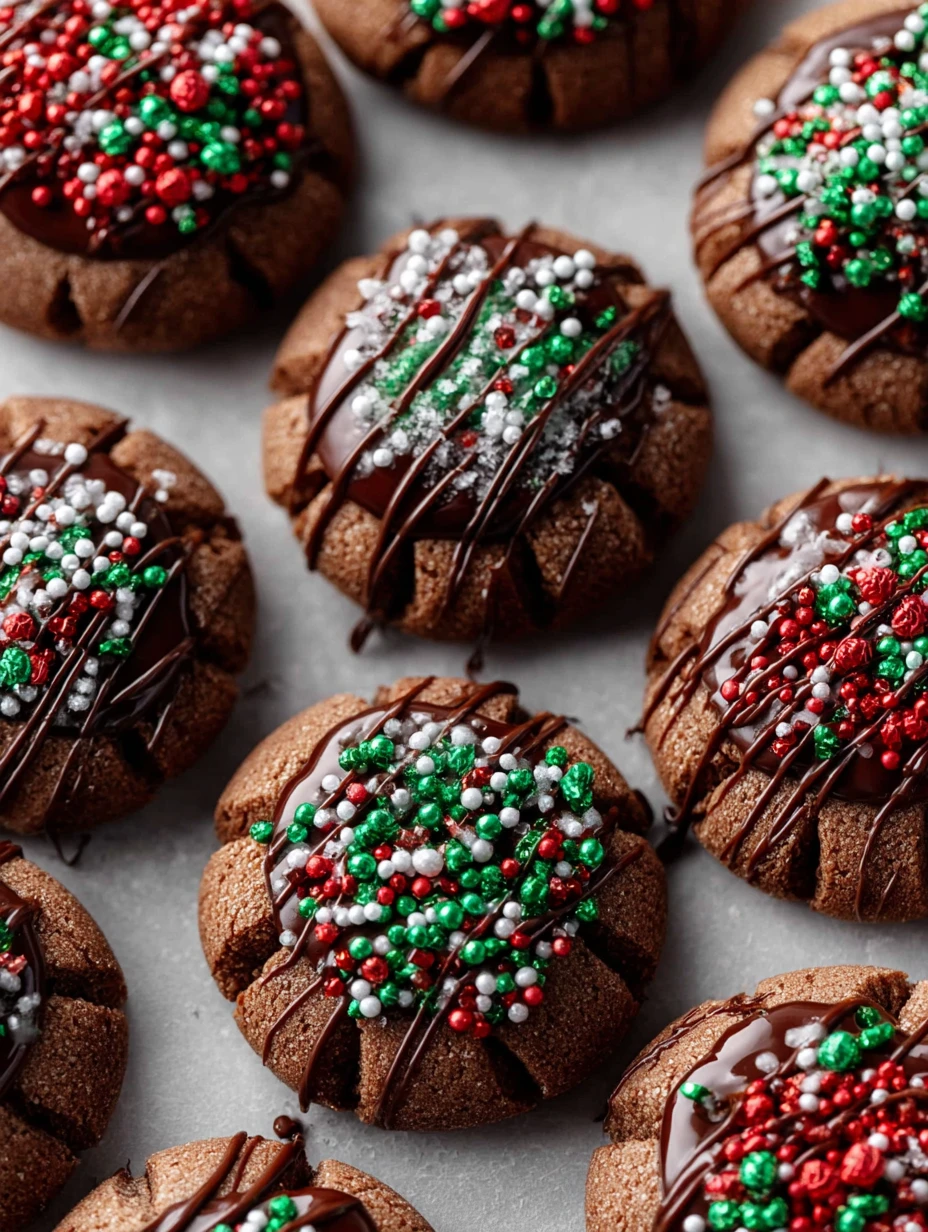
Chocolate Thumbprint Christmas Cookies
Introduction
Welcome to a delightful journey into the world of Chocolate Thumbprint Christmas Cookies! Imagine the aroma of freshly baked cookies filling your home, the warmth of the oven embracing you, and the joy of creating sweet memories with loved ones. This recipe is more than just a culinary delight; it’s a tradition, a symbol of togetherness, and a treat that embodies the spirit of the holiday season. Let’s dive into the magic of these delectable cookies that are perfect for Christmas gatherings, friendsgiving celebrations, or simply indulging in some festive cheer.
Why You’ll Love This Recipe
These Chocolate Thumbprint Christmas Cookies are a true crowd-pleaser. Their buttery, melt-in-your-mouth texture combined with rich chocolate centers will leave everyone craving for more. Whether you’re a seasoned baker or a novice in the kitchen, this recipe is easy to follow and guarantees delicious results every time. Additionally, these cookies can be a fun and creative activity to engage with family and friends during the holiday season. They are not only a treat for the taste buds but also a feast for the eyes, adding a touch of elegance to any dessert table.
Ingredients
For the cookie dough:
– All-purpose flour
– Unsweetened cocoa powder
– Butter
– Granulated sugar
– Egg yolks
– Vanilla extract
– Salt
For the chocolate filling:
– Dark chocolate
– Heavy cream
– Confectioners’ sugar (for dusting)
Optional ingredient substitutions:
– Gluten-free flour blend for a gluten-free version
– Coconut sugar for a refined sugar-free option
– Plant-based butter for a dairy-free alternative
Step-by-Step Instructions
1. Preheat the oven to 350°F and line a baking sheet with parchment paper.
2. In a mixing bowl, whisk together the flour, cocoa powder, and salt.
3. In a separate bowl, cream the butter and sugar until light and fluffy.
4. Add the egg yolks and vanilla extract to the butter mixture and beat until well combined.
5. Gradually add the dry ingredients to the wet ingredients, mixing until a dough forms.
6. Shape the dough into small balls and place them on the prepared baking sheet.
7. Use your thumb or the back of a spoon to create an indentation in the center of each cookie.
8. Bake the cookies for 10-12 minutes, or until set.
9. While the cookies are baking, melt the dark chocolate and cream together to make the filling.
10. Once the cookies are done, remove them from the oven and fill the centers with the chocolate mixture.
11. Allow the cookies to cool before dusting them with confectioners’ sugar.
Expert Tips for Success
– Make sure to use room temperature butter for the cookie dough to achieve the right consistency.
– Do not overmix the dough to prevent the cookies from becoming tough.
– For a shiny finish on the cookies, brush the chocolate filling with a bit of melted butter before dusting with confectioners’ sugar.
– To add a festive touch, top the cookies with colorful sprinkles or crushed peppermint candies.
Variations and Substitutions
– Instead of dark chocolate, try using white chocolate for a different flavor profile.
– For a nutty twist, add chopped nuts like pecans or almonds to the chocolate filling.
– Experiment with different extracts such as almond or peppermint for unique flavor combinations.
– If you prefer a softer filling, mix in some marshmallow fluff with the chocolate ganache.
Serving Suggestions
These Chocolate Thumbprint Christmas Cookies are best enjoyed with a glass of cold milk or a hot cup of cocoa. They also make a charming addition to any holiday cookie platter or gift basket. Serve them at your next friendsgiving dinner party alongside other festive treats for a memorable dessert spread. These cookies are sure to be the star of the show and will leave your guests impressed with your baking skills!
FAQs
Q: Can I make the cookie dough ahead of time and freeze it?
A: Yes, you can prepare the dough in advance, shape it into balls, and freeze them. When ready to bake, simply thaw the dough balls and proceed with making the thumbprint cookies.
Q: How should I store the cookies?
A: Store the cookies in an airtight container at room temperature for up to 3-4 days. You can also freeze the baked cookies for longer storage.
Q: Can I use different fillings for the thumbprint cookies?
A: Absolutely! Get creative with your fillings by using fruit preserves, caramel sauce, or even peanut butter for a fun twist on this classic recipe.
Final Thoughts
As you embark on the delightful journey of baking these Chocolate Thumbprint Christmas Cookies, remember that the holiday season is not just about the food but the joy and warmth it brings to those around you. Whether you’re baking these cookies for a festive gathering or a cozy night in, savor the moments spent in the kitchen and the smiles these treats will bring. Share the love, share the sweetness, and create lasting memories with each batch of these delectable cookies. Happy baking!
Chocolate Thumbprint Christmas Cookies
Buttery, melt-in-your-mouth chocolate thumbprint cookies with rich chocolate centers, perfect for Christmas gatherings and holiday celebrations.
Ingredients
- 2 cups all-purpose flour
- 1/2 cup unsweetened cocoa powder
- 1 cup butter, room temperature
- 1 cup granulated sugar
- 2 egg yolks
- 1 teaspoon vanilla extract
- 1/4 teaspoon salt
- 6 oz dark chocolate
- 1/3 cup heavy cream
- Confectioners' sugar (for dusting)
Directions
-
Preheat the oven to 350°F and line a baking sheet with parchment paper.
-
In a mixing bowl, whisk together the flour, cocoa powder, and salt.
-
In a separate bowl, cream the butter and sugar until light and fluffy.
-
Add the egg yolks and vanilla extract to the butter mixture and beat until well combined.
-
Gradually add the dry ingredients to the wet ingredients, mixing until a dough forms.
-
Shape the dough into small balls and place them on the prepared baking sheet.
-
Use your thumb or the back of a spoon to create an indentation in the center of each cookie.
-
Bake the cookies for 10-12 minutes, or until set.
-
While the cookies are baking, melt the dark chocolate and cream together to make the filling.
-
Once the cookies are done, remove them from the oven and fill the centers with the chocolate mixture.
-
Allow the cookies to cool before dusting them with confectioners' sugar.