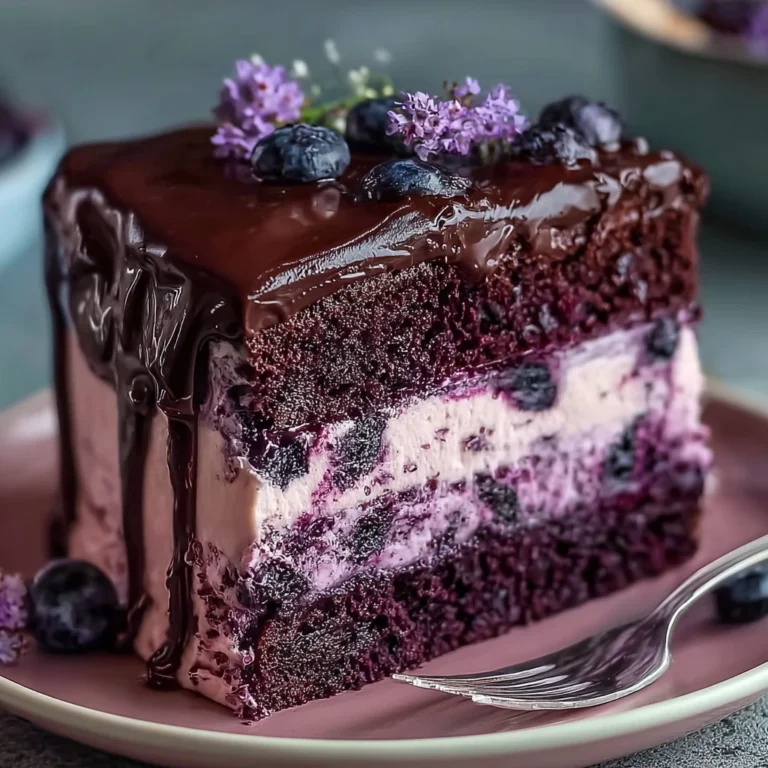
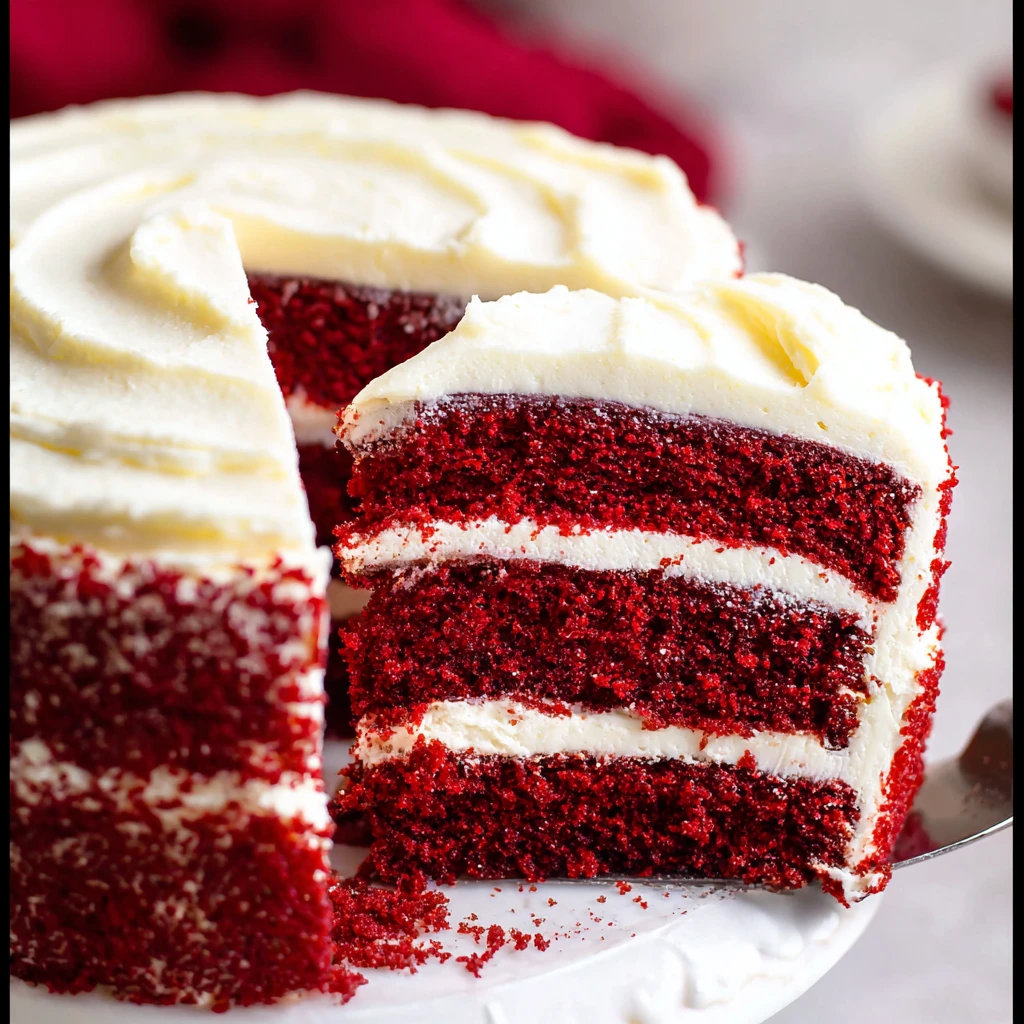
Red Velvet Cake from Scratch
Introduction
Welcome to the delightful world of homemade desserts! Today, we embark on a journey to uncover the secrets of creating a Red Velvet Cake from Scratch. Picture this: moist layers of vibrant red cake, slathered with creamy frosting, creating a visual and culinary masterpiece. This recipe is more than just a dessert; it’s a symbol of celebration, love, and indulgence.
Red Velvet Cake holds a special place in the hearts of many, with its rich history dating back to the 19th century. Originally known as “velvet cake” due to its soft and velvety texture, the addition of cocoa and buttermilk gave rise to the iconic red hue we know and love today. This cake has graced countless tables at birthdays, weddings, and holidays, making it a classic favorite for any occasion.
What sets this Red Velvet Cake apart is the perfect balance of flavors and textures. The hint of cocoa adds depth, the buttermilk ensures a tender crumb, and the cream cheese frosting provides a decadent finish. Whether you’re a seasoned baker or a beginner in the kitchen, this recipe promises to deliver a slice of pure bliss with every bite.
Join me as we unravel the magic behind this beloved dessert, exploring each step with precision and passion. Get ready to impress your friends and family with a homemade Red Velvet Cake that is sure to steal the show!
Why You’ll Love This Recipe
Prepare to be enchanted by the simplicity and elegance of this Red Velvet Cake recipe. The beauty of this dessert lies in its versatility; it can be dressed up for a formal event or enjoyed casually with a cup of coffee. The ease of preparation coupled with the heavenly taste makes it a must-have in your baking repertoire.
One of the standout features of this recipe is its moist and velvety texture, thanks to the buttermilk and vinegar combination. This ensures a cake that is not only visually stunning but also incredibly soft and tender. Additionally, the cream cheese frosting provides a delightful contrast to the subtle cocoa flavors, resulting in a harmonious blend of sweet and tangy notes.
For those with dietary preferences, fear not! This Red Velvet Cake recipe can be easily adapted to suit various needs. Whether you’re looking to make it gluten-free, vegan, or reduce the sugar content, there are plenty of options to explore without compromising on taste or quality.
Indulge in a slice of Red Velvet Cake and experience a symphony of flavors that will tantalize your taste buds and leave you craving for more. This recipe is a celebration of love, joy, and the simple pleasures found in a homemade treat.
Ingredients
To create this masterpiece, you will need the following ingredients:
– 2 1/2 cups of all-purpose flour
– 1 1/2 cups of granulated sugar
– 1 teaspoon of baking soda
– 1 teaspoon of salt
– 2 teaspoons of cocoa powder
– 1 1/2 cups of vegetable oil
– 1 cup of buttermilk
– 2 large eggs
– 2 tablespoons of red food coloring
– 1 teaspoon of vanilla extract
Optional: You can substitute buttermilk with a mixture of milk and vinegar, or explore dairy-free alternatives for a vegan-friendly version of this cake.
Step-by-Step Instructions
1. Preheat your oven to 350°F (180°C) and prepare three 9-inch round cake pans by greasing and flouring them.
2. In a large mixing bowl, combine the flour, sugar, baking soda, salt, and cocoa powder. Mix well to ensure even distribution of the dry ingredients.
3. In a separate bowl, whisk together the vegetable oil, buttermilk, eggs, red food coloring, and vanilla extract until smooth.
4. Gradually add the wet ingredients to the dry ingredients, mixing until just combined. Be careful not to overmix the batter to maintain a tender texture.
5. Divide the batter evenly among the prepared cake pans and smooth the tops with a spatula.
6. Bake the cakes for 25-30 minutes or until a toothpick inserted into the center comes out clean.
7. Allow the cakes to cool in the pans for 10 minutes before transferring them to a wire rack to cool completely.
8. Once the cakes are completely cooled, assemble them with layers of cream cheese frosting between each layer. Finish by frosting the top and sides of the cake generously.
Expert Tips for Success
– Room temperature ingredients are key to achieving a uniform texture in your cake batter. Allow the eggs, buttermilk, and butter to sit out for about 30 minutes before starting.
– Sift the dry ingredients together to remove any lumps and ensure a smooth batter.
– Be mindful of the amount of food coloring used to achieve the desired red hue. Start with a small amount and adjust as needed.
– To avoid a dense cake, gently fold the wet and dry ingredients together until just combined. Overmixing can result in a tough crumb.
Variations and Substitutions
Looking to put a unique twist on your Red Velvet Cake? Here are some creative variations to consider:
– Add a hint of espresso powder to enhance the chocolate flavor profile.
– Incorporate finely chopped nuts or chocolate chips into the batter for added texture.
– Experiment with different frosting flavors such as chocolate ganache or raspberry buttercream for a personalized touch.
– For a healthier option, substitute some of the oil with applesauce or Greek yogurt to reduce the fat content.
Serving Suggestions
To elevate the Red Velvet Cake experience, consider serving it with a dollop of whipped cream and a sprinkle of cocoa powder. Pair this decadent dessert with a cup of freshly brewed coffee or a glass of cold milk for a delightful treat.
For a special occasion, garnish the cake with fresh berries, edible flowers, or chocolate shavings to add a touch of elegance. The versatility of this dessert allows for endless creativity in presentation and serving style.
FAQs
Q: Can I make this cake ahead of time?
A: Yes, you can bake the cake layers in advance and store them in an airtight container in the refrigerator for up to 2 days. Assemble and frost the cake just before serving for the best results.
Q: How can I achieve a deeper red color without using artificial food coloring?
A: You can experiment with natural food colorings such as beet juice or pomegranate extract to achieve a vibrant red hue in your cake.
Q: Can I freeze leftover slices of Red Velvet Cake?
A: Absolutely! Wrap individual slices tightly in plastic wrap and aluminum foil before storing them in the freezer for up to 1 month. Thaw slices in the refrigerator before enjoying.
Final Thoughts
As we conclude our culinary journey into the realm of Red Velvet Cake from Scratch, I hope you feel inspired and empowered to create this decadent dessert in your own kitchen. The beauty of this recipe lies in its simplicity and versatility, allowing you to customize and experiment with flavors to suit your preferences.
Whether you’re baking this cake for a special occasion or simply indulging in a sweet treat, the Red Velvet Cake embodies the essence of homemade goodness and heartfelt joy. So, roll up your sleeves, preheat your oven, and let the aroma of freshly baked cake fill your home with warmth and happiness.
Remember, the true magic of baking lies in the joy of sharing your creations with loved ones. So, slice into that velvety cake, savor each bite, and create memories that will last a lifetime. Happy baking!
Red Velvet Cake from Scratch
Indulge in the rich history and vibrant flavors of this homemade Red Velvet Cake. Moist layers of red cake paired with creamy frosting create a decadent treat that is perfect for any occasion.
Ingredients
- 2 1/2 cups all-purpose flour
- 1 1/2 cups granulated sugar
- 1 teaspoon baking soda
- 1 teaspoon salt
- 2 teaspoons cocoa powder
- 1 1/2 cups vegetable oil
- 1 cup buttermilk
- 2 large eggs
- 2 tablespoons red food coloring
- 1 teaspoon vanilla extract
Directions
-
Preheat oven to 350°F (180°C) and prepare three 9-inch round cake pans by greasing and flouring them.
-
Combine flour, sugar, baking soda, salt, and cocoa powder in a large mixing bowl.
-
In a separate bowl, whisk together vegetable oil, buttermilk, eggs, red food coloring, and vanilla extract until smooth.
-
Gradually add wet ingredients to dry ingredients, mixing until just combined.
-
Divide batter among cake pans, smooth the tops, and bake for 25-30 minutes.
-
Cool cakes in the pans, then transfer to a wire rack to cool completely.
-
Assemble the cakes with cream cheese frosting between layers and frost the top and sides of the cake.