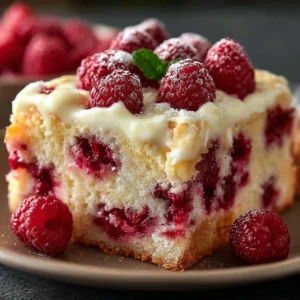
No Churn Coffee Ice Cream
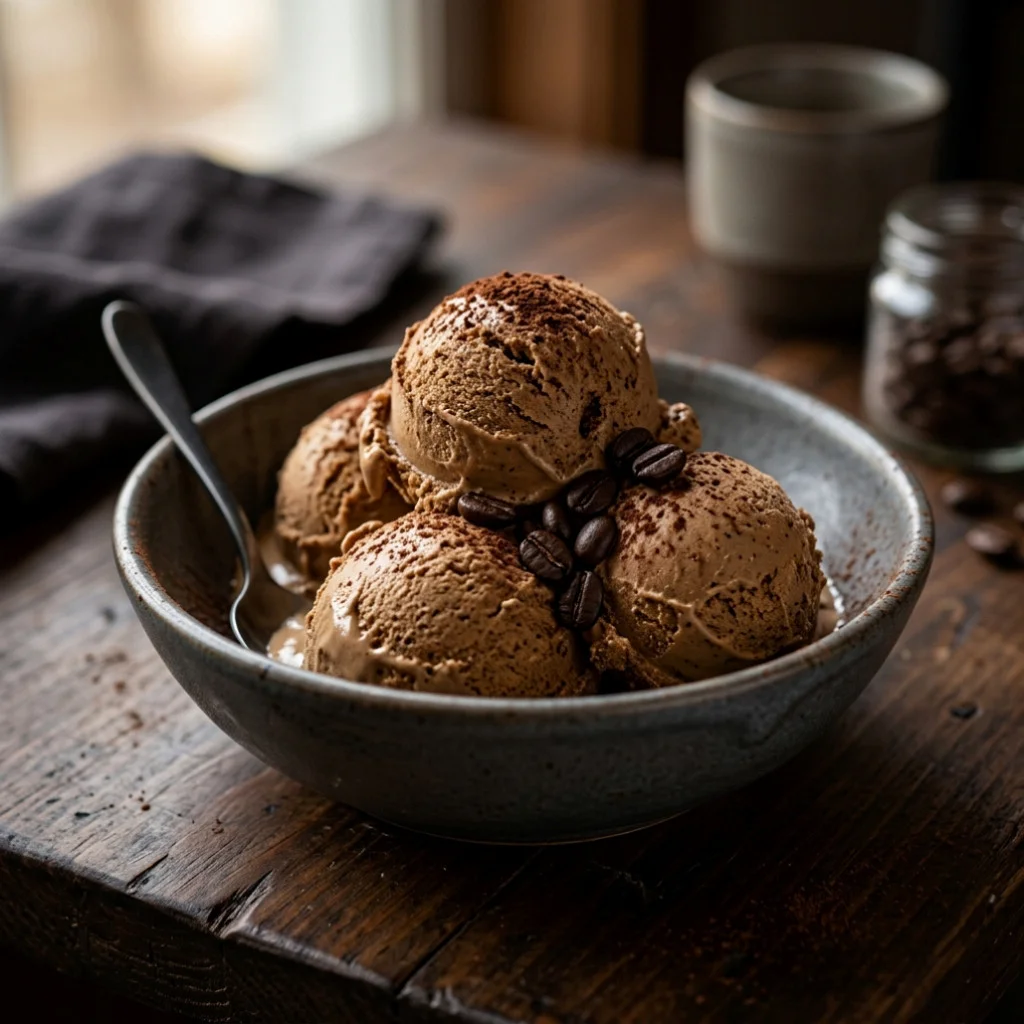
Indulge your coffee cravings with this delightful No Churn Coffee Ice Cream. Perfect for coffee lovers, this creamy homemade coffee ice cream requires no ice cream maker, making it an easy yet gourmet dessert option. With just a few simple ingredients, you can whip up a refreshing treat that’s ideal for summer or any time you want to enjoy a coffee-flavored dessert. The beauty of this recipe lies in its simplicity and versatility, allowing for customization to suit your flavor preferences. This No Churn Coffee Ice Cream is not just a dessert; it’s a way to savor the rich and aromatic essence of coffee in a delightful, frozen form that everyone will love.
Ingredients
- Base Ingredients:
- 2 cups heavy cream
- 1 cup sweetened condensed milk
- 1 cup brewed coffee, cooled (or espresso for a more robust flavor)
- Flavor Enhancements:
- 1 teaspoon vanilla extract
- 1/4 cup coffee liqueur (optional, for added depth)
- Toppings (optional):
- Chocolate shavings
- Crushed espresso beans
- Whipped cream
- Caramel sauce for drizzling
- Chopped nuts such as almonds or hazelnuts for added texture
For a dairy-free version, substitute the heavy cream with coconut cream and the sweetened condensed milk with a dairy-free alternative. This adjustment maintains the creamy texture while catering to dietary restrictions. Additionally, choosing high-quality coffee beans will tremendously enhance the flavor profile of your No Churn Coffee Ice Cream. Consider freshly ground coffee for a more pronounced aroma and a richer taste. You can learn more about this topic.
Steps / Instructions
- Prepare the Coffee: Brew your coffee or espresso and allow it to cool completely. This step is crucial as it enhances the flavor of your ice cream without melting it during the mixing process. If you’re using espresso, consider making a double shot for a more intense coffee experience. The cooling process is essential to prevent any heat from affecting the cream during mixing.
- Whip the Cream: In a large mixing bowl, using an electric mixer, whip the heavy cream on medium-high speed until stiff peaks form. This typically takes about 3-5 minutes. The cream should be thick and hold its shape when the beaters are lifted. Ensure that your mixing bowl and beaters are cold for optimal whipping, which can help achieve the best texture. A chilled bowl will also prevent the cream from warming too quickly, which is key in maintaining its integrity.
- Combine Ingredients: In another bowl, whisk together the sweetened condensed milk, cooled coffee, vanilla extract, and coffee liqueur (if using) until well combined. This mixture serves as the base flavor for your ice cream. Take care to incorporate the ingredients fully, ensuring that every spoonful offers a rich coffee flavor. A whisk or a spatula works well here to ensure a smooth consistency without lumps.
- Fold the Mixtures: Gently fold the whipped cream into the coffee mixture. Use a spatula and employ a folding motion to maintain the airiness of the whipped cream. Be careful not to over-mix; gentle folding will give you a light and creamy texture that defines the excellence of No Churn Coffee Ice Cream. Aim for a marbled effect rather than a fully blended mixture, which enhances both presentation and texture. This technique is key for achieving that luxurious, airy finish that makes this ice cream so special.
- Transfer to Container: Once the cream and coffee mixtures are well combined, pour the mixture into a loaf pan or any airtight container. Smooth the top with a spatula to ensure an even surface. For added aesthetic, consider layering some chocolate shavings or crushed espresso beans between layers before smoothing the top. This not only improves the look but also adds delightful bursts of flavor.
- Freeze: Cover the container with plastic wrap or a lid and freeze for at least 4-6 hours, or until the ice cream is firm. For the best results, allow it to freeze overnight. This extended freezing time allows the flavors to meld beautifully, resulting in a more complex and satisfying taste. The longer freezing time will also help develop a creamier texture that is truly irresistible.
- Serve: Once frozen, scoop out your No Churn Coffee Ice Cream with an ice cream scoop dipped in warm water for easier serving. This technique helps achieve perfect, round scoops. Enjoy it plain, or top with whipped cream, chocolate shavings, or crushed espresso beans for an extra touch! You could also offer a drizzle of homemade caramel or chocolate sauce for a decadent finish. For a fun twist, serve it with an espresso shot poured over it for an affogato-style dessert experience.
Tips & Tricks
- For a richer coffee flavor, use dark roast coffee or espresso instead of regular brewed coffee. Dark roast provides a bold taste that complements the creamy texture of the ice cream.
- Make sure the heavy cream is well-chilled before whipping to achieve stable peaks. This can significantly affect the final texture of your ice cream. Additionally, using fresh cream will ensure the best flavor and consistency.
- Store any leftover ice cream in an airtight container in the freezer for up to two weeks. However, it’s best enjoyed within the first week for optimal freshness. Consider placing a layer of plastic wrap directly on the surface of the ice cream to prevent ice crystals from forming, which can alter its smooth texture.
- If you find the ice cream too hard after freezing, let it sit at room temperature for about 5-10 minutes before scooping. This allows the ice cream to soften slightly for easier serving. Alternatively, you can place the container in the refrigerator for a shorter time.
- Consider adding chocolate chips or a swirl of caramel for added flavor and texture! These ingredients can take your No Churn Coffee Ice Cream to the next level. Additionally, experimenting with different types of toppings can keep the dessert exciting for repeat servings.
Variations
- Dairy-Free Version: Use coconut cream and a dairy-free sweetened condensed milk alternative. These substitutes will maintain the creamy consistency without compromising flavor. Coconut cream can add a subtly sweet and tropical note that pairs beautifully with coffee.
- Flavored Variations: Incorporate flavors like hazelnut or mocha by adding flavored extracts or syrups. This gives you the freedom to experiment and create your unique twist on the classic recipe. You can also add a sprinkle of cinnamon for a warm, spicy undertone.
- Decadent Add-Ins: Mix in crushed cookies, brownie pieces, or various nuts for a delightful crunch. These additions not only enhance the flavor but also provide an exciting texture contrast in every bite. Don’t shy away from creative combinations, such as mixing in a layer of chocolate fudge or a swirl of peanut butter for a unique taste experience.
Serving Suggestions
Present your No Churn Coffee Ice Cream in elegant dessert bowls or waffle cones. Pair it with a shot of espresso for a coffee lover’s dream dessert or serve alongside a slice of rich chocolate cake for a perfect contrast of flavors. Garnish with a sprinkle of cocoa powder or a drizzle of chocolate sauce to elevate the presentation. You can also create a sundae by layering the ice cream with your favorite toppings, such as fresh berries or a dollop of nut butter. The visual appeal of your dessert can be enhanced with creative layering techniques, so feel free to play with colors and textures. Check out our related guide for more tips on how to enhance your serving experience and impress your guests.
No Churn Coffee Ice Cream
Indulge your coffee cravings with this delightful No Churn Coffee Ice Cream. Perfect for coffee lovers, this creamy homemade coffee ice cream requires no ice cream maker, making it an easy yet gourmet dessert option.
Ingredients
- 2 cups heavy cream
- 1 cup sweetened condensed milk
- 1 cup brewed coffee, cooled (or espresso for a more robust flavor)
- 1 teaspoon vanilla extract
- 1/4 cup coffee liqueur (optional, for added depth)
- Chocolate shavings (optional)
- Crushed espresso beans (optional)
- Whipped cream (optional)
- Caramel sauce for drizzling (optional)
- Chopped nuts such as almonds or hazelnuts for added texture (optional)
Directions
Brew your coffee or espresso and allow it to cool completely.
In a large mixing bowl, using an electric mixer, whip the heavy cream on medium-high speed until stiff peaks form.
In another bowl, whisk together the sweetened condensed milk, cooled coffee, vanilla extract, and coffee liqueur (if using) until well combined.
Gently fold the whipped cream into the coffee mixture.
Pour the mixture into a loaf pan or any airtight container and smooth the top.
Cover the container with plastic wrap or a lid and freeze for at least 4-6 hours, or until the ice cream is firm.
Once frozen, scoop out your No Churn Coffee Ice Cream with an ice cream scoop dipped in warm water for easier serving.
Recipe Reviews
- ★★★★★
Excellent recipe!
Leave a Reply
Your email address will not be published. Required fields are marked *


Excellent recipe!